
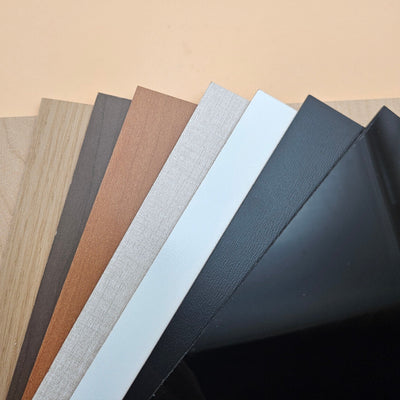


Acrylic thickness guide: which to use for what
Updated Jun 2026TL;DR: Most laser-cut craft acrylic projects use one of four thicknesses: 1.5, 3, 4.5, or 6 mm. Each suits a specific use case. 3 mm is the most flexible default. Thinner is for delicate detail or top layers in layered art. Thicker is for sturdier signs, stands, and base layers. This guide tells you when to pick each, with laser power expectations.
Pick thickness from the mechanical role, not the look
The most common beginner mistake is picking thickness by "what looks right". A 3 mm sign looks flimsy in your hand when 4.5 mm in the same design feels solid. A 1.5 mm earring weighs nothing on the ear; a 3 mm earring drags. Thickness drives the structural feel of the finished piece, not just the visual.
Start with the question: what does this piece need to do? Then pick the thinnest material that does the job. Thinner cuts faster, uses less power, and is easier to glue.

1.5 mm cast acrylic (sold as 1/16 inch)
Best for: earrings, ornaments, intricate filigree, top layers of layered art, photo overlay layers, very fine signage detail.
Cut speed: Very fast on any CO2 laser. Even a 40 W cuts 1.5 mm at 25 to 35 mm/s with low power.
Diode laser compatibility: A 5 W diode cuts coloured 1.5 mm in 1 to 3 passes. Clear 1.5 mm cast still needs CO2.
What to watch for:
- Heat distortion on intricate cuts. The thin material warps slightly under prolonged heat. Cut in sections rather than one long continuous cut.
- Flex in larger pieces. A 1.5 mm sheet 30 cm across will bow under its own weight. Plan for support or upgrade to 3 mm.
Bonding: Solvent welds beautifully because the cut edges are short and easy to mate flat.
3 mm cast acrylic (sold as 1/8 inch)
Best for: most laser-craft projects. Snap-together kits, earring stands, small signs, drink coasters, middle layers of layered art, jewellery components, ornaments.
Cut speed: Fast on any CO2. A 40 W cuts 3 mm at 15 to 25 mm/s.
Diode laser compatibility: A 10 W diode cuts coloured 3 mm in 2 to 4 passes. A 20 W diode handles it cleanly. Clear 3 mm still needs CO2.
What to watch for:
- Edge tilt at high speeds. If you push the speed too aggressively, the cone of the beam shows up as a slight bevel.
- Stress cracking near tight inner corners. Soften interior corners to a 0.5 mm radius minimum.
Bonding: The default for solvent welding craft pieces. Cut edges are flat, parts mate cleanly, joints disappear.
The default thickness. If you are unsure what to order, 3 mm is the right call 70 percent of the time.
4.5 mm cast acrylic (sold as 3/16 inch)
Best for: sturdier signage, beginner furniture (small stools, side tables), retail display fixtures, base layers of larger layered art, awards bases, sturdy serving boards.
Cut speed: Moderate. A 40 W CO2 cuts at 10 to 15 mm/s. A 60 W cuts at 15 to 20 mm/s.
Diode laser compatibility: A 20 W diode cuts coloured 4.5 mm in 3 to 5 passes. A 40 W diode handles it more cleanly. Clear 4.5 mm needs CO2.
What to watch for:
- Cut time. A complex 4.5 mm design takes 2 to 4 times longer than the same design in 3 mm. Plan accordingly.
- Beveling becomes visible. The kerf cone is more obvious at 4.5 mm than at 3 mm. Choose focus position carefully (top, middle, or bottom of material) based on which face is visible.
Bonding: Excellent for solvent welding. The deeper edge gives more surface area for the bond.
6 mm cast acrylic (sold as 1/4 inch)
Best for: sturdy display stands, weight-bearing fixtures, premium signage, thicker awards, layered art bases that need to support themselves, large drink trays, retail risers.
Cut speed: Slower. A 40 W CO2 cuts at 5 to 10 mm/s. A 60 W at 10 to 15 mm/s. A 100 W at 20 mm/s or faster.
Diode laser compatibility: Difficult. Even a 40 W diode struggles with 6 mm cast acrylic in a single pass. Multiple passes work but the edge quality is rarely worth it. For 6 mm and up, CO2 is the practical choice.
What to watch for:
- Kerf cone is unavoidable. Even with mid-thickness focus, the kerf shows a slight hourglass. For perfectly square edges, sand or polish after cut.
- Air assist matters more. Fumes have a longer path to escape, so weak air assist deposits more residue on the side walls of the kerf.
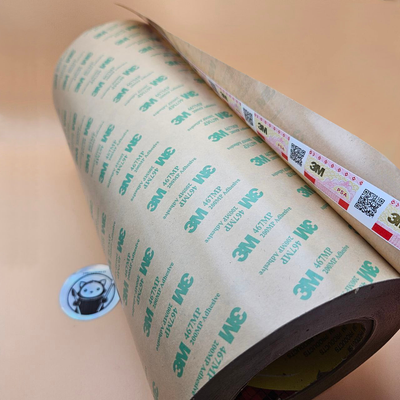
Bonding: Solvent welding gives the strongest joint thanks to the large bond surface. Use a thickened solvent (rather than the watery kind) on edges this thick, because thin solvent evaporates before it can flow through the full thickness. For mounting to a wall or substrate without welding, 3M tape works well.
Mixing thicknesses in layered art
Layered art is where thickness choice becomes a design decision. A few principles:

Base layer thickest. Use 4.5 or 6 mm for the bottom layer to give the piece structural rigidity. The base also holds the standoffs or wall mount.
Middle layers in 3 mm. Most layered art has two to four middle layers. 3 mm is the right balance of depth visibility (you can see the layer separation in raking light) and reasonable cut time across multiple sheets.
Top layer in 1.5 mm. The top layer often has the finest detail (text, fine lines, foreground). 1.5 mm cuts faster, holds detail cleanly, and casts a defined shadow on the layer below.
Total stack height matters. A 4.5 + 3 + 3 + 1.5 stack is 12 mm thick. Wall standoffs and frames need to clear that. Plan stack thickness before designing.
Mixing thicknesses in signage
For freestanding signs, the base needs to be at least 1.5x as thick as the upright. A 3 mm upright on a 6 mm base feels solid. A 6 mm upright on a 3 mm base falls over.
For mounted signage, the visible thickness on the wall sets the feel. 3 mm reads modern and minimal. 6 mm reads premium and substantial. 9 mm and up read like cast retail signage.
Buying tips
- Match your laser to the thickness you actually use most. Crafters with a 40 W CO2 will live at 3 mm. Hobbyists with a 5 W diode should focus on 1.5 mm and stay there.
- Buy 3 mm in bulk if you do any volume. It is the workhorse thickness and ships cheaper at quantity.
- Order one thickness up from what you think you need for sturdy parts. People consistently underestimate how flimsy 3 mm feels in a finished piece compared to in their hand pre-cut.
- Sample packs are worth the extra money on a first order. A four-thickness sample fan helps you calibrate which thickness "feels right" for your style before committing to a bulk order.
Frequently asked questions
Q: Is 1/8 inch the same as 3 mm? A: Close, not identical. 1/8 inch is 3.175 mm; 3 mm metric is 3.0 mm. Cast acrylic tolerance is typically plus or minus 10 percent, so both can vary into the 2.8 to 3.3 mm range. For tight-tolerance joinery, measure the actual sheet.
Q: Can I cut 12 mm or thicker cast acrylic? A: Yes, with a 100 W or higher CO2 laser and patience. Edges become visibly beveled and need sanding or polishing for a square profile. For most craft applications, 6 mm is the practical ceiling.
Q: What thickness should I use for an Etsy-listed door sign? A: 4.5 mm is the sweet spot. 3 mm feels cheap in hand, 6 mm is expensive to ship. 4.5 mm reads premium and ships at modest cost.
Q: My piece looks great in 3 mm in CAD but feels wrong in real life. Help. A: This is almost always a thickness-too-thin problem. Re-cut the same design in 4.5 mm. Most people prefer the thicker version once they hold both.
Q: Does cast acrylic come in odd thicknesses (2 mm, 5 mm)? A: 2 mm and 5 mm exist but are less commonly stocked. If you have a project that specifically needs them, ask whether your supplier can source them; otherwise plan around 1.5, 3, 4.5, 6 mm because they are the standard inventory.
Q: Why does the listing say "nominal 3 mm" instead of just "3 mm"? A: "Nominal" is honesty about tolerance. The sheet is around 3 mm but may measure 2.8 to 3.2 mm. Suppliers who say "nominal" tend to be more accurate about tolerance than those who claim exact.