


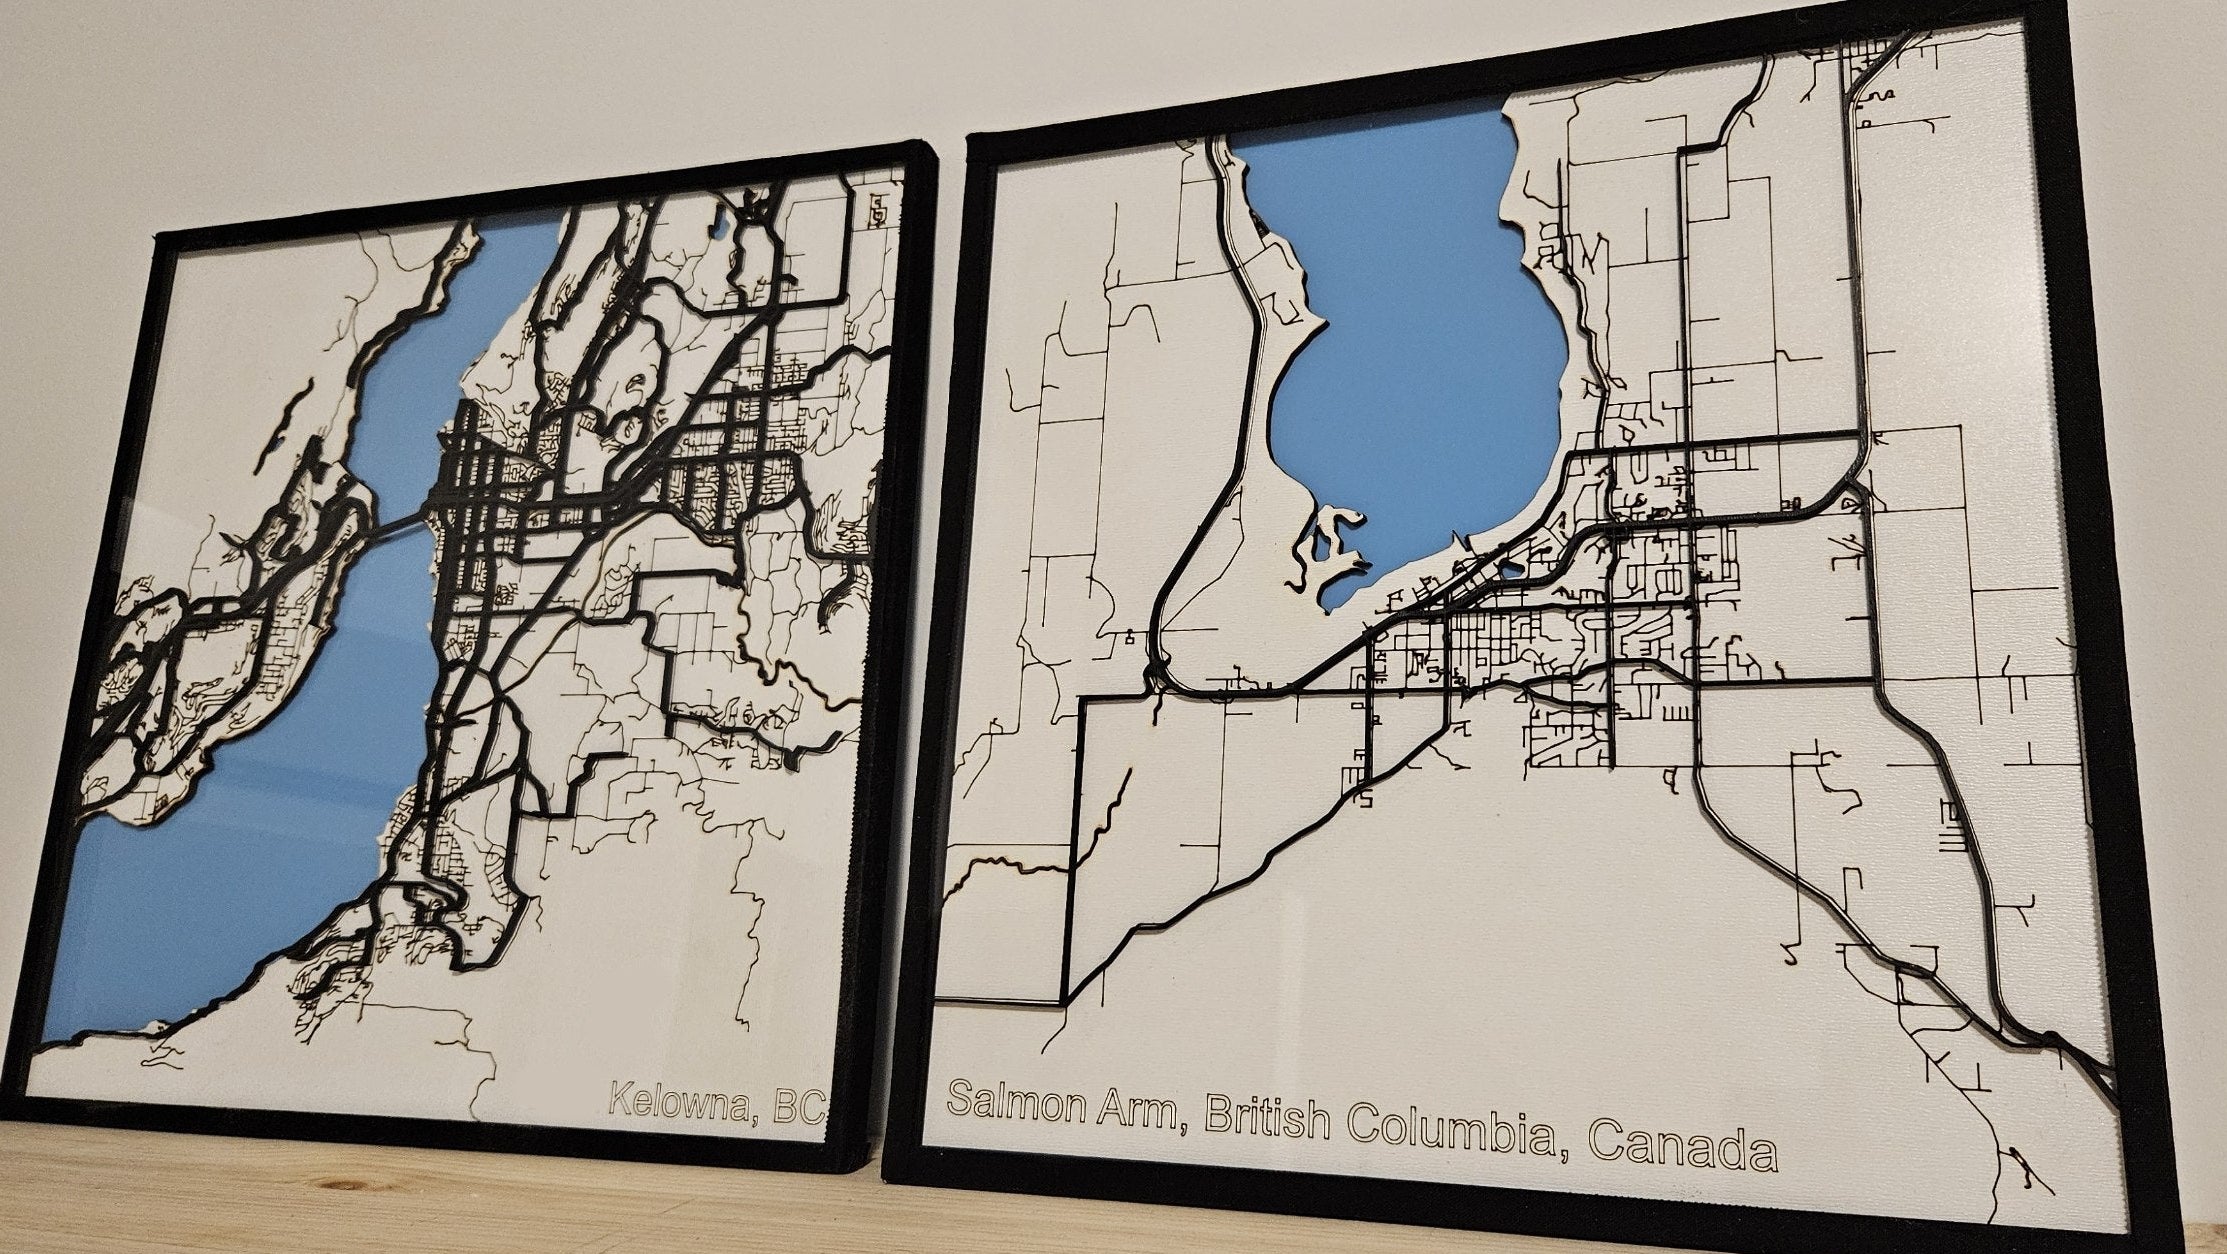
Turn the places you love into things you can hold
Water below. Streets above. Lettering on top. Layered maps that read like cartography and feel like an object.
Choosing your materials by layer
MAKE IT UNIQUE

DISCOVER YOUR NEXT PROJECT


Layered Lake Depth Map
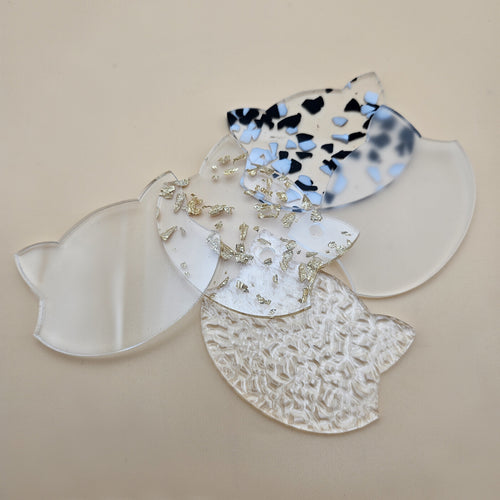
 Clear Acrylic Sheet - Rippled Texture
$8.00
Clear Acrylic Sheet - Rippled Texture
$8.00
 Dual-Finish Cast Acrylic Sheet - Forest Green
$6.00
Dual-Finish Cast Acrylic Sheet - Forest Green
$6.00
 Dual-Finish Acrylic Sheet - Teal Agave
$6.00
Dual-Finish Acrylic Sheet - Teal Agave
$6.00
 Dual-Finish Pastel Acrylic Sheet - Blue Cotton Candy
$6.00
Dual-Finish Pastel Acrylic Sheet - Blue Cotton Candy
$6.00
 Dual-Finish Acrylic Sheet - Obsidian Black
$6.00
Dual-Finish Acrylic Sheet - Obsidian Black
$6.00
 Dual-Finish Acrylic Sheet - Royal Blue
$6.00
Dual-Finish Acrylic Sheet - Royal Blue
$6.00
 Free tool
Lake Depth Chart Generator (Pro)Real or Surveyed Lake Bathymetry
Free tool
Lake Depth Chart Generator (Pro)Real or Surveyed Lake Bathymetry

Engraved Topography Map of a River Canyon


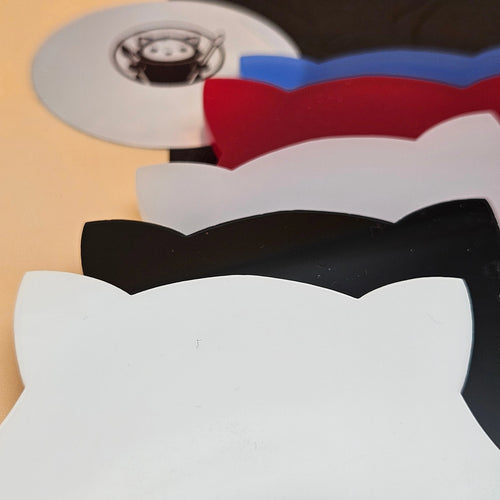
Two-Tone Engravable Acrylic - Matte Black - Engraves White
Two-Tone Engravable Acrylic - White - Engraves Black
Two-Tone Engravable Acrylic - Brushed Gold - Engraves Black
Two-Tone Engravable Acrylic - Blue - Engraves White
Two-Tone Engravable Acrylic - Red - Engraves White
Two-Tone Engravable Acrylic - Yellow - Engraves Black
Two-Tone Engravable Acrylic - Gold - Engraves Black
Two-Tone Engravable Acrylic - Stainless Steel - Engraves Black
Two-Tone Engravable Acrylic - Brushed Chrome - Engraves Black
Two-Tone Engravable Acrylic - Gray - Engraves White
Two-Tone Engravable Acrylic - Light Gold - Engraves Black
Two-Tone Engravable Acrylic - Light Gray - Engraves Black
Two-Tone Engravable Acrylic - Red - Engraves Black
Two-Tone Engravable Acrylic - Green - Engraves White
Two-Tone Engravable Acrylic - Dark Brown - Engraves White

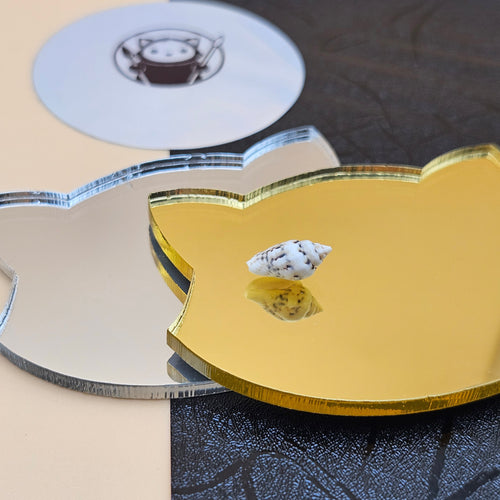
Mirror Acrylic Sheet - Gold

Mirror Acrylic Sheet - Silver

Mirror Acrylic Sheet - Red - 2.6 mm

Mirror Acrylic Sheet - Light Green - 2.6 mm

Mirror Acrylic Sheet - Light Blue - 2.6 mm

Mirror Acrylic Sheet - 2-Way Mirror - See Through - 2.6 mm

Mirror Acrylic Sheet - Rose - 2.6 mm

Mirror Acrylic Sheet - Pink - 2.6 mm

Mirror Acrylic Sheet - Purple - 2.6 mm

Mirror Acrylic Sheet - Blue - 2.6 mm

Mirror Acrylic Sheet - Black - 2.6 mm

Mirror Acrylic Bundle


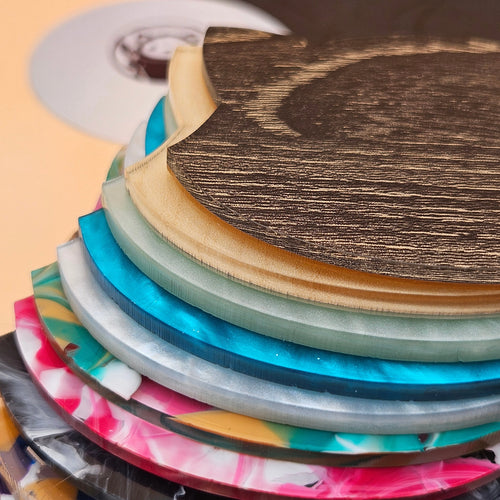
TruFlat® Maple Plywood
TruFlat® Walnut Plywood
TruFlat® Oak Plywood
TruFlat® Cherry Plywood
TruFlat® White Plywood 2.0
TruFlat® Black Plywood
TruFlat® Linen Plywood
TruFlat® Paint Plywood
TruFlat® Starter Pack
TruFlat® Wood Grain Pack
TruFlat® Essentials Pack

3M 467MP Adhesive Transfer Tape (0.05mm) – Ultra-Thin Bond

3M 300LSE Adhesive Transfer Tape – High-Tack Bond

3M 468MP Adhesive Transfer Tape (0.13mm) – Heavy-Duty Bond

3M 467MP Adhesive Tape 12"x60yd

3M 300LSE Adhesive Transfer Tape Roll 12"x60yd

4-Pack Anodized Aluminum Standoff Spacers

10-Pack Stainless Steel Standoff Spacers

Keychain Snap Clips - Multiple Colours
Laser Cut Layered Map FAQ
-
What is a layered map?
A layered map is a laser cut street or city map built from separate stacked sheets rather than a single engraved panel. Each feature of the map lives on its own layer: a water base, the road network above it, and a top layer for lettering or a frame. Cutting each element from a different colour or material gives the piece real physical depth, so a coastline, a river, and the streets all sit at different heights. Generate the cut files for any address with the Street Map Generator, then cut each layer from the acrylic or plywood that suits it.
-
How many layers do I need?
Three layers is the typical recipe and a great place to start: a water base on the bottom, the road network in the middle, and a top label or frame layer that carries the city name and coordinates. Three layers reads as a map at a glance and stays simple to cut and align. Add more layers when you want extra detail such as parks, building footprints, or a separate border, but each layer adds material cost and assembly time. Plan the stack height before you cut so the finished piece fits your frame or shadow box; the layered acrylic stack calculator works out the combined thickness for you.
-
How do I align the layers when assembling?
Alignment is what separates a clean layered map from a messy one. The two reliable methods are registration pins and a frame. For pins, add small holes in a matching position on every layer in your cut file, then drop a short rod or toothpick through the stack to lock everything in place while you bond it. For the frame method, size the outer edge of each layer identically and build the stack inside a tray or shadow box so the walls force the edges to self-align. The Street Map Generator keeps every layer on the same coordinate grid, so as long as you do not move artwork between exports the layers will register to each other.
-
How do I bond the layers together?
For a flat, permanent bond with no cure time, use double-sided 3M tape. Cut or apply the tape to the back of each upper layer, peel, and press it onto the layer below; the bond is instant and stays flat, which matters when you are stacking several rigid sheets. Solvent cement (such as Weld-On) gives an invisible welded joint on acrylic but takes practice and cure time and can mar mirror or painted faces. For most layered maps, 3M tape is the fastest route to a clean, durable result.
-
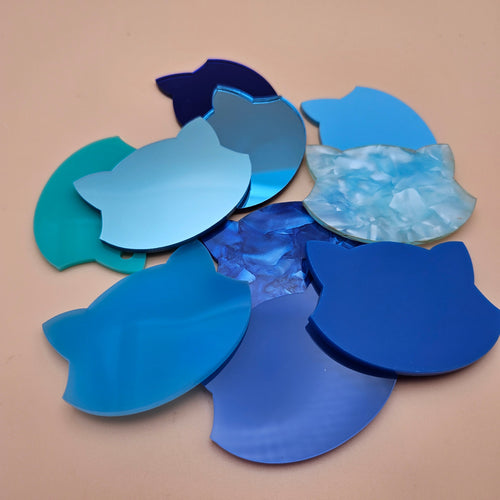
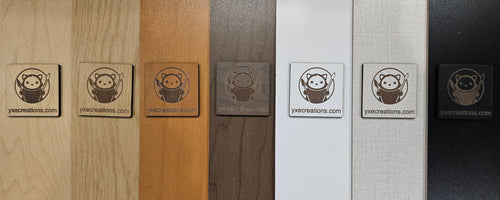
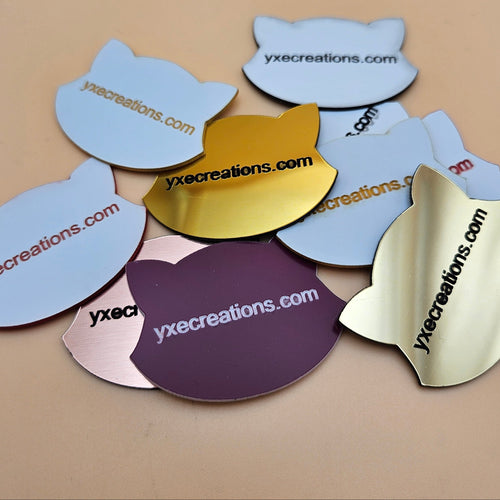
What are the best materials for each layer?
Match the material to the feature. For the water base, mirror acrylic or a blue acrylic gives the water a reflective, liquid look. For the lettering and labels, two-tone acrylic is ideal because engraving cuts through the cap colour to reveal a contrasting core, so street names and the city label stand out with no paint fill. For a warm base or backing layer, laser grade plywood adds a natural tone that contrasts nicely against glossy acrylic streets.
-
How do I handle kerf and press-fit inlays?
Kerf is the small amount of material the laser vaporises, so a cut part comes out slightly smaller than the line you drew. For press-fit pieces, such as a river or road shape that drops into a cut-out on the layer below, subtract roughly 0.1 to 0.15mm per side from the inset piece so it seats snugly without forcing. The exact figure depends on your laser, lens, and material, so cut a small test fit before committing to a full map. When parts only stack rather than inlay, kerf matters far less, which is another reason the simple three-layer stack is forgiving for beginners.
-
Can I add coordinates, a city name, or a date?
Yes, and it is one of the most popular touches on a layered map. The Street Map Generator lets you place the city name, GPS coordinates, and a custom line of text on the label layer. Engrave that text into two-tone acrylic so it reveals a contrasting colour, or engrave it into plywood for a burned, tactile finish. Coordinates and a date turn a map into a personalised keepsake for a wedding, a first home, or a hometown gift, which supports a higher price.
-
What are common sizes and how do I frame them?
Popular sizes are 8x10in for a desk or shelf piece and 12x12in for a statement wall map; a square format frames a city centre cleanly. Because a layered map has real thickness, frame it in a shadow box rather than a flat frame so the stack sits below the glass without crushing it. Size your outer layer to the inside of the box and build the stack inside it; this doubles as your alignment guide. Use the layered acrylic stack calculator to confirm the total stack height clears the depth of your shadow box before you cut.
-
How do I price layered maps?
Layered maps command more than flat engraved pieces because of the material and assembly involved. As a guide, expect to sell them from about $35 for a small two or three layer 8x10in piece up to $120 for a large, detailed multi-layer 12x12in map in a shadow box. Price on size, layer count, and material mix: mirror acrylic water and designer acrylics raise both your cost and your perceived value, while personalised coordinates and framing justify the top of the range. Track material cost per layer and multiply by 4 to 6 for retail.