


MAKE PATCHES & TAGS
Patches that stick
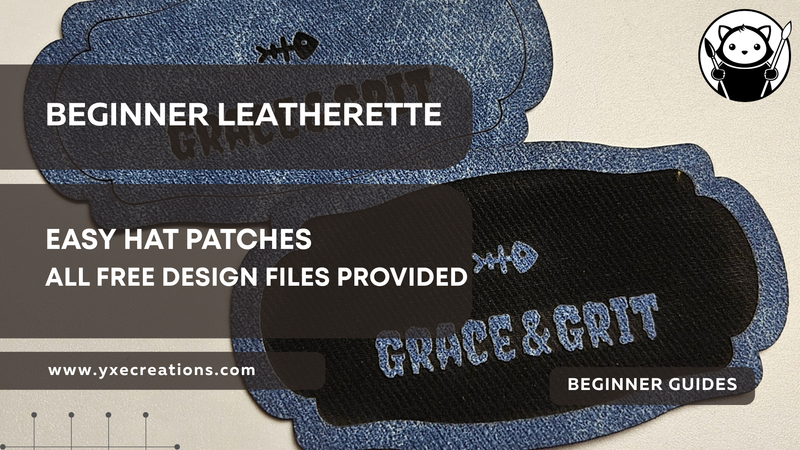
Sublimation leatherette, adhesive backings, and a free design tool, plus beginner guides. Make iron-on patches, no-sew labels, and backpack tags.
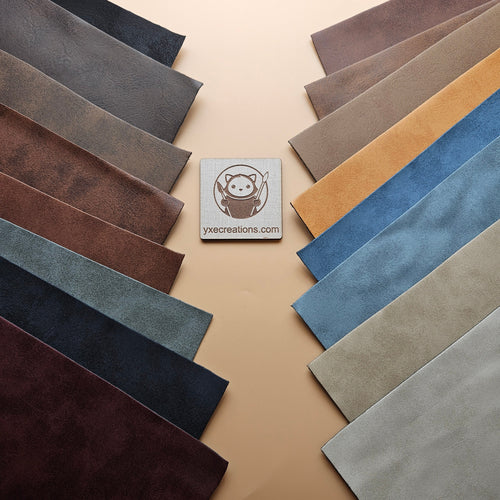
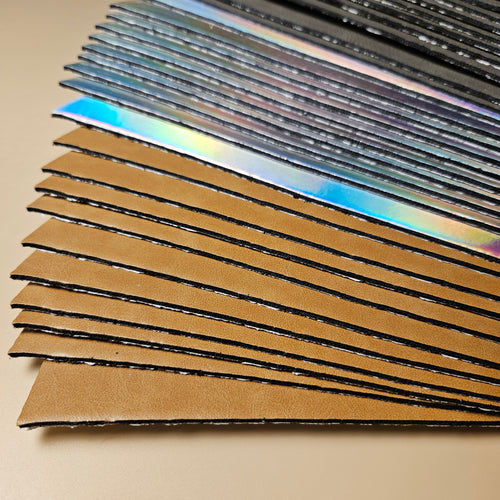
Choosing your leatherette thickness
Guides and Free Designs
MAKE IT UNIQUE

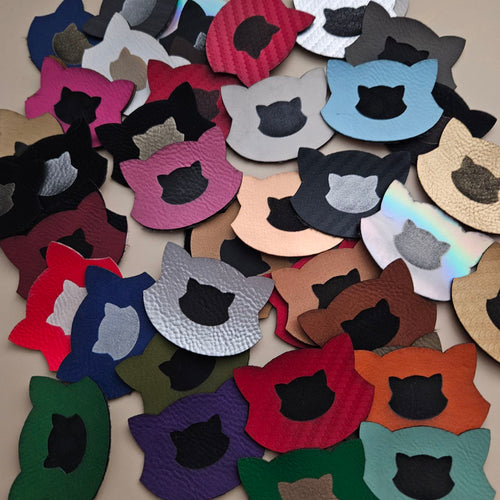


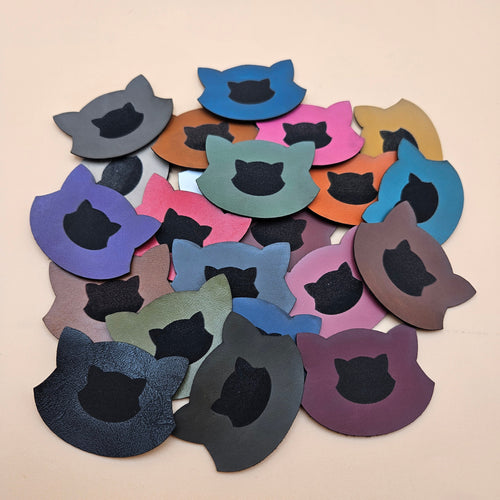
DISCOVER YOUR NEXT PROJECT

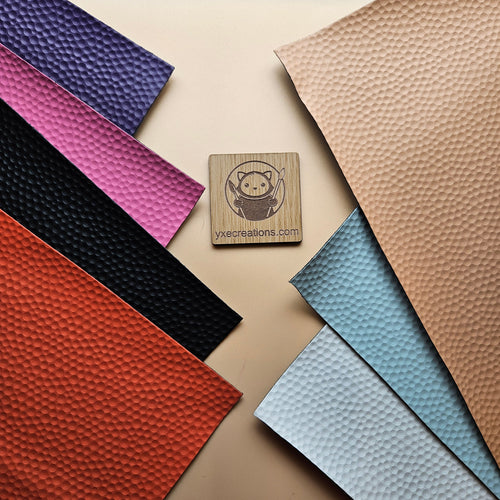
Glossy Leatherette
 Black - Engraves Black - Glossy Leatherette Sheet – PU Material
$8.00
Black - Engraves Black - Glossy Leatherette Sheet – PU Material
$8.00
 Brick Red - Engraves Black - Glossy Leatherette Sheet – PU Material
$8.00
Brick Red - Engraves Black - Glossy Leatherette Sheet – PU Material
$8.00
 Bright Pink - Engraves Black - Glossy Leatherette Sheet – PU Material
$8.00
Bright Pink - Engraves Black - Glossy Leatherette Sheet – PU Material
$8.00
 Dark Blue - Engraves Black - Glossy Leatherette Sheet – PU Material
$8.00
Dark Blue - Engraves Black - Glossy Leatherette Sheet – PU Material
$8.00
 Dark Green - Engraves Black - Glossy Leatherette Sheet – PU Material
$8.00
Dark Green - Engraves Black - Glossy Leatherette Sheet – PU Material
$8.00
 Light Brown - Engraves Black - Glossy Leatherette Sheet – PU Material
$8.00
Light Brown - Engraves Black - Glossy Leatherette Sheet – PU Material
$8.00

Matte Vintage Leatherette
 Aqua Blue / Engraves Black - Matte Vintage - Leatherette Sheet - PU Material
$8.00
Aqua Blue / Engraves Black - Matte Vintage - Leatherette Sheet - PU Material
$8.00
 Black / Engraves Black - Matte Vintage - Leatherette Sheet - PU Material
$8.00
Black / Engraves Black - Matte Vintage - Leatherette Sheet - PU Material
$8.00
 Rose Red / Engraves Black - Matte Vintage - Leatherette Sheet - PU Material
$8.00
Rose Red / Engraves Black - Matte Vintage - Leatherette Sheet - PU Material
$8.00
 Brown / Engraves Black - Matte Vintage - Leatherette Sheet - PU Material
$8.00
Brown / Engraves Black - Matte Vintage - Leatherette Sheet - PU Material
$8.00
 Khaki / Engraves Black - Matte Vintage - Leatherette Sheet - PU Material
$8.00
Khaki / Engraves Black - Matte Vintage - Leatherette Sheet - PU Material
$8.00
 Caramel / Engraves Black - Matte Vintage - Leatherette Sheet - PU Material
$8.00
Caramel / Engraves Black - Matte Vintage - Leatherette Sheet - PU Material
$8.00

Elevate the classic rawhide look with shades that set your work apart.
 Prairie Hide - Dark Brown - Engraves Black - Leatherette Sheet – PU Material
$8.00
Prairie Hide - Dark Brown - Engraves Black - Leatherette Sheet – PU Material
$8.00
 Prairie Hide - Light Brown - Engraves Black - Leatherette Sheet – PU Material
$8.00
Prairie Hide - Light Brown - Engraves Black - Leatherette Sheet – PU Material
$8.00
 Prairie Hide - Medium Brown - Engraves Black - Leatherette Sheet – PU Material
$8.00
Prairie Hide - Medium Brown - Engraves Black - Leatherette Sheet – PU Material
$8.00
 Rawhide - Engraves Black - Leatherette Sheet – PU Material
$8.00
Rawhide - Engraves Black - Leatherette Sheet – PU Material
$8.00

Glow-in-the-Dark - Engraves Black - Glossy Leatherette Sheet – PU Material
Regular price
From $8.00 CAD
Regular price
Sale price
From $8.00 CAD

Rawhide - Engraves Black - Glossy Leatherette Sheet – PU Material
Regular price
From $8.00 CAD
Regular price
Sale price
From $8.00 CAD

Sand - Engraves Black - Glossy Leatherette Sheet – PU Material
Regular price
From $8.00 CAD
Regular price
Sale price
From $8.00 CAD

Red - Engraves Black - Glossy Leatherette Sheet – PU Material
Regular price
From $8.00 CAD
Regular price
Sale price
From $8.00 CAD

White - Engraves Black - Glossy Leatherette Sheet – PU Material
Regular price
From $8.00 CAD
Regular price
Sale price
From $8.00 CAD

Light Brown - Engraves Black - Glossy Leatherette Sheet – PU Material
Regular price
From $8.00 CAD
Regular price
Sale price
From $8.00 CAD

Sage Green - Engraves Black - Glossy Leatherette Sheet – PU Material
Regular price
From $8.00 CAD
Regular price
Sale price
From $8.00 CAD

Walnut - Engraves Black - Glossy Leatherette Sheet – PU Material
Regular price
From $8.00 CAD
Regular price
Sale price
From $8.00 CAD

Purple - Engraves Black - Glossy Leatherette Sheet – PU Material
Regular price
From $8.00 CAD
Regular price
Sale price
From $8.00 CAD

Dark Green - Engraves Black - Glossy Leatherette Sheet – PU Material
Regular price
From $8.00 CAD
Regular price
Sale price
From $8.00 CAD

Dark Pink - Engraves Black - Glossy Leatherette Sheet – PU Material
Regular price
From $8.00 CAD
Regular price
Sale price
From $8.00 CAD

Olive - Engraves Black - Glossy Leatherette Sheet – PU Material
Regular price
From $8.00 CAD
Regular price
Sale price
From $8.00 CAD

Teal - Engraves Black - Glossy Leatherette Sheet – PU Material
Regular price
From $8.00 CAD
Regular price
Sale price
From $8.00 CAD

Maroon - Engraves Black - Glossy Leatherette Sheet – PU Material
Regular price
From $8.00 CAD
Regular price
Sale price
From $8.00 CAD

Yellow - Engraves Black - Glossy Leatherette Sheet – PU Material
Regular price
From $8.00 CAD
Regular price
Sale price
From $8.00 CAD

Khaki Green - Engraves Black - Glossy Leatherette Sheet – PU Material
Regular price
From $8.00 CAD
Regular price
Sale price
From $8.00 CAD

Bright Pink - Engraves Black - Glossy Leatherette Sheet – PU Material
Regular price
From $8.00 CAD
Regular price
Sale price
From $8.00 CAD

Black - Engraves Black - Glossy Leatherette Sheet – PU Material
Regular price
From $8.00 CAD
Regular price
Sale price
From $8.00 CAD

Buckskin - Engraves Black - Glossy Leatherette Sheet – PU Material
Regular price
From $8.00 CAD
Regular price
Sale price
From $8.00 CAD

Light Blue - Engraves Black - Glossy Leatherette Sheet – PU Material
Regular price
From $8.00 CAD
Regular price
Sale price
From $8.00 CAD

Light Grey - Engraves Black - Glossy Leatherette Sheet – PU Material
Regular price
From $8.00 CAD
Regular price
Sale price
From $8.00 CAD

Dark Grey - Engraves Black - Glossy Leatherette Sheet – PU Material
Regular price
From $8.00 CAD
Regular price
Sale price
From $8.00 CAD

Orange - Engraves Black - Glossy Leatherette Sheet – PU Material
Regular price
From $8.00 CAD
Regular price
Sale price
From $8.00 CAD

Brick Red - Engraves Black - Glossy Leatherette Sheet – PU Material
Regular price
From $8.00 CAD
Regular price
Sale price
From $8.00 CAD


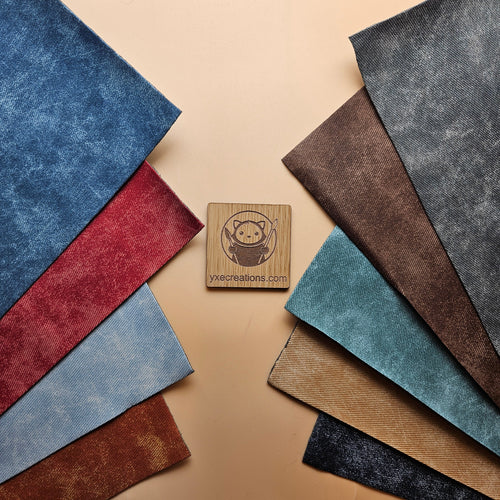
Blue / Engraves Black - Denim Texture - Leatherette Sheet - PU Material
Regular price
From $8.00 CAD
Regular price
Sale price
From $8.00 CAD
Beige / Engraves Black - Denim Texture - Leatherette Sheet - PU Material
Regular price
From $8.00 CAD
Regular price
Sale price
From $8.00 CAD
Dark Brown / Engraves Black - Denim Texture - Leatherette Sheet - PU Material
Regular price
From $8.00 CAD
Regular price
Sale price
From $8.00 CAD
Gray / Engraves Black - Denim Texture - Leatherette Sheet - PU Material
Regular price
From $8.00 CAD
Regular price
Sale price
From $8.00 CAD
Dark Gray / Engraves Black - Denim Texture - Leatherette Sheet - PU Material
Regular price
From $8.00 CAD
Regular price
Sale price
From $8.00 CAD
Orange / Engraves Black - Denim Texture - Leatherette Sheet - PU Material
Regular price
From $8.00 CAD
Regular price
Sale price
From $8.00 CAD
Light Blue / Engraves Black - Denim Texture - Leatherette Sheet - PU Material
Regular price
From $8.00 CAD
Regular price
Sale price
From $8.00 CAD
Red / Engraves Black - Denim Texture - Leatherette Sheet - PU Material
Regular price
From $8.00 CAD
Regular price
Sale price
From $8.00 CAD
Teal / Engraves Black - Denim Texture - Leatherette Sheet - PU Material
Regular price
From $8.00 CAD
Regular price
Sale price
From $8.00 CAD

Yellow Ochre / Engraves Black - Matte Vintage - Leatherette Sheet - PU Material
Regular price
From $8.00 CAD
Regular price
Sale price
From $8.00 CAD

White / Engraves Black - Matte Vintage - Leatherette Sheet - PU Material
Regular price
From $8.00 CAD
Regular price
Sale price
From $8.00 CAD

Beige / Engraves Black - Matte Vintage - Leatherette Sheet - PU Material
Regular price
From $8.00 CAD
Regular price
Sale price
From $8.00 CAD

Caramel / Engraves Black - Matte Vintage - Leatherette Sheet - PU Material
Regular price
From $8.00 CAD
Regular price
Sale price
From $8.00 CAD

Dark Brown / Engraves Black - Matte Vintage - Leatherette Sheet - PU Material
Regular price
From $8.00 CAD
Regular price
Sale price
From $8.00 CAD

Light Gray / Engraves Black - Matte Vintage - Leatherette Sheet - PU Material
Regular price
From $8.00 CAD
Regular price
Sale price
From $8.00 CAD

Light Coffee / Engraves Black - Matte Vintage - Leatherette Sheet - PU Material
Regular price
From $8.00 CAD
Regular price
Sale price
From $8.00 CAD

Dark Coffee / Engraves Black - Matte Vintage - Leatherette Sheet - PU Material
Regular price
From $8.00 CAD
Regular price
Sale price
From $8.00 CAD

Black / Engraves Black - Matte Vintage - Leatherette Sheet - PU Material
Regular price
From $8.00 CAD
Regular price
Sale price
From $8.00 CAD

Aqua Blue / Engraves Black - Matte Vintage - Leatherette Sheet - PU Material
Regular price
From $8.00 CAD
Regular price
Sale price
From $8.00 CAD

Light Blue / Engraves Black - Matte Vintage - Leatherette Sheet - PU Material
Regular price
From $8.00 CAD
Regular price
Sale price
From $8.00 CAD

Khaki / Engraves Black - Matte Vintage - Leatherette Sheet - PU Material
Regular price
From $8.00 CAD
Regular price
Sale price
From $8.00 CAD

Rose Red / Engraves Black - Matte Vintage - Leatherette Sheet - PU Material
Regular price
From $8.00 CAD
Regular price
Sale price
From $8.00 CAD

Dark Blue / Engraves Black - Matte Vintage - Leatherette Sheet - PU Material
Regular price
From $8.00 CAD
Regular price
Sale price
From $8.00 CAD

Reddish Brown / Engraves Black - Matte Vintage - Leatherette Sheet - PU Material
Regular price
From $8.00 CAD
Regular price
Sale price
From $8.00 CAD

Brown / Engraves Black - Matte Vintage - Leatherette Sheet - PU Material
Regular price
From $8.00 CAD
Regular price
Sale price
From $8.00 CAD


Brown / Engraves Black - Basketball Texture - Leatherette Sheet - PU Material
Regular price
$8.00 CAD
Regular price
Sale price
$8.00 CAD
Blue / Engraves Black - Basketball Texture - Leatherette Sheet - PU Material
Regular price
$8.00 CAD
Regular price
Sale price
$8.00 CAD
Yellow / Engraves Black - Basketball Texture - Leatherette Sheet - PU Material
Regular price
$8.00 CAD
Regular price
Sale price
$8.00 CAD
Wine Red / Engraves Black - Basketball Texture - Leatherette Sheet - PU Material
Regular price
$8.00 CAD
Regular price
Sale price
$8.00 CAD
Purple / Engraves Black - Basketball Texture - Leatherette Sheet - PU Material
Regular price
$8.00 CAD
Regular price
Sale price
$8.00 CAD
Teal / Engraves Black - Basketball Texture - Leatherette Sheet - PU Material
Regular price
$8.00 CAD
Regular price
Sale price
$8.00 CAD
Orange / Engraves Black - Basketball Texture - Leatherette Sheet - PU Material
Regular price
$8.00 CAD
Regular price
Sale price
$8.00 CAD
Black / Engraves Silver - Basketball Texture - Leatherette Sheet - PU Material
Regular price
$8.00 CAD
Regular price
Sale price
$8.00 CAD
White / Engraves Black - Basketball Texture - Leatherette Sheet - PU Material
Regular price
$8.00 CAD
Regular price
Sale price
$8.00 CAD
Laser Cut Patch & Tag FAQ
-
What do I need to start making laser cut patches?
Four things: a laser cutter, leatherette, a way to attach the patch, and a design file. A 10W+ diode or any CO2 laser cuts PU leatherette cleanly at low power. To attach, you can use the heat-melt adhesive backing leatherette ships with, add 3M adhesive tape, or sew and rivet. For full colour, add a heat press and sublimation gloss PU leatherette.
-
What material is best for patches and tags?
Glossy PU (polyurethane) leatherette is the standard. It cuts cleanly at low power, engraves with crisp detail, takes full-colour sublimation, and is flexible enough to sit on a bag, hat, or jacket without cracking. Never laser cut PVC leatherette, because it releases chlorine gas that is harmful to you and corrosive to your machine. All leatherette sold by YXE Creations Craft Hub is PU only.
-
How do patches attach to clothing and bags?
There are three common methods. Our leatherette ships with a TPU melt adhesive backing, so you can heat-press or iron it directly onto fabric for a permanent bond. For hard surfaces and bags, 3M tape gives a strong no-sew stick-on bond; 300LSE works on tricky low-energy plastics, while 467MP and 468MP are clean transfer tapes for flat surfaces. For heavy use, sew around the edge or set a rivet through a punched hole.
-
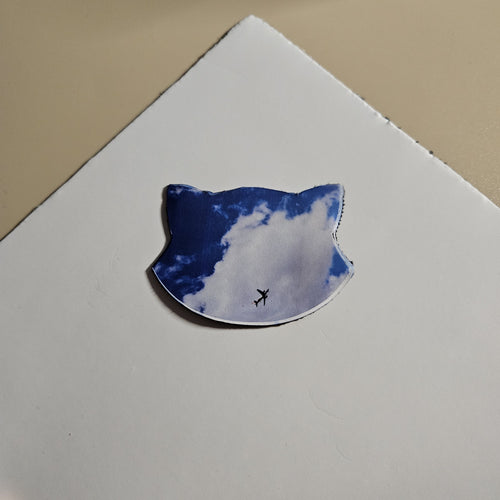
Can I make full-colour sublimation patches?
Yes, and it is where leatherette patches shine. Press your design onto sublimation gloss PU leatherette at 375 to 400 degrees F for 60 to 90 seconds, then cut the patch shapes on the laser. Pressing the full sheet first means one press can yield many patches. Standard leatherette does not accept sublimation, so use sheets rated for it.
-
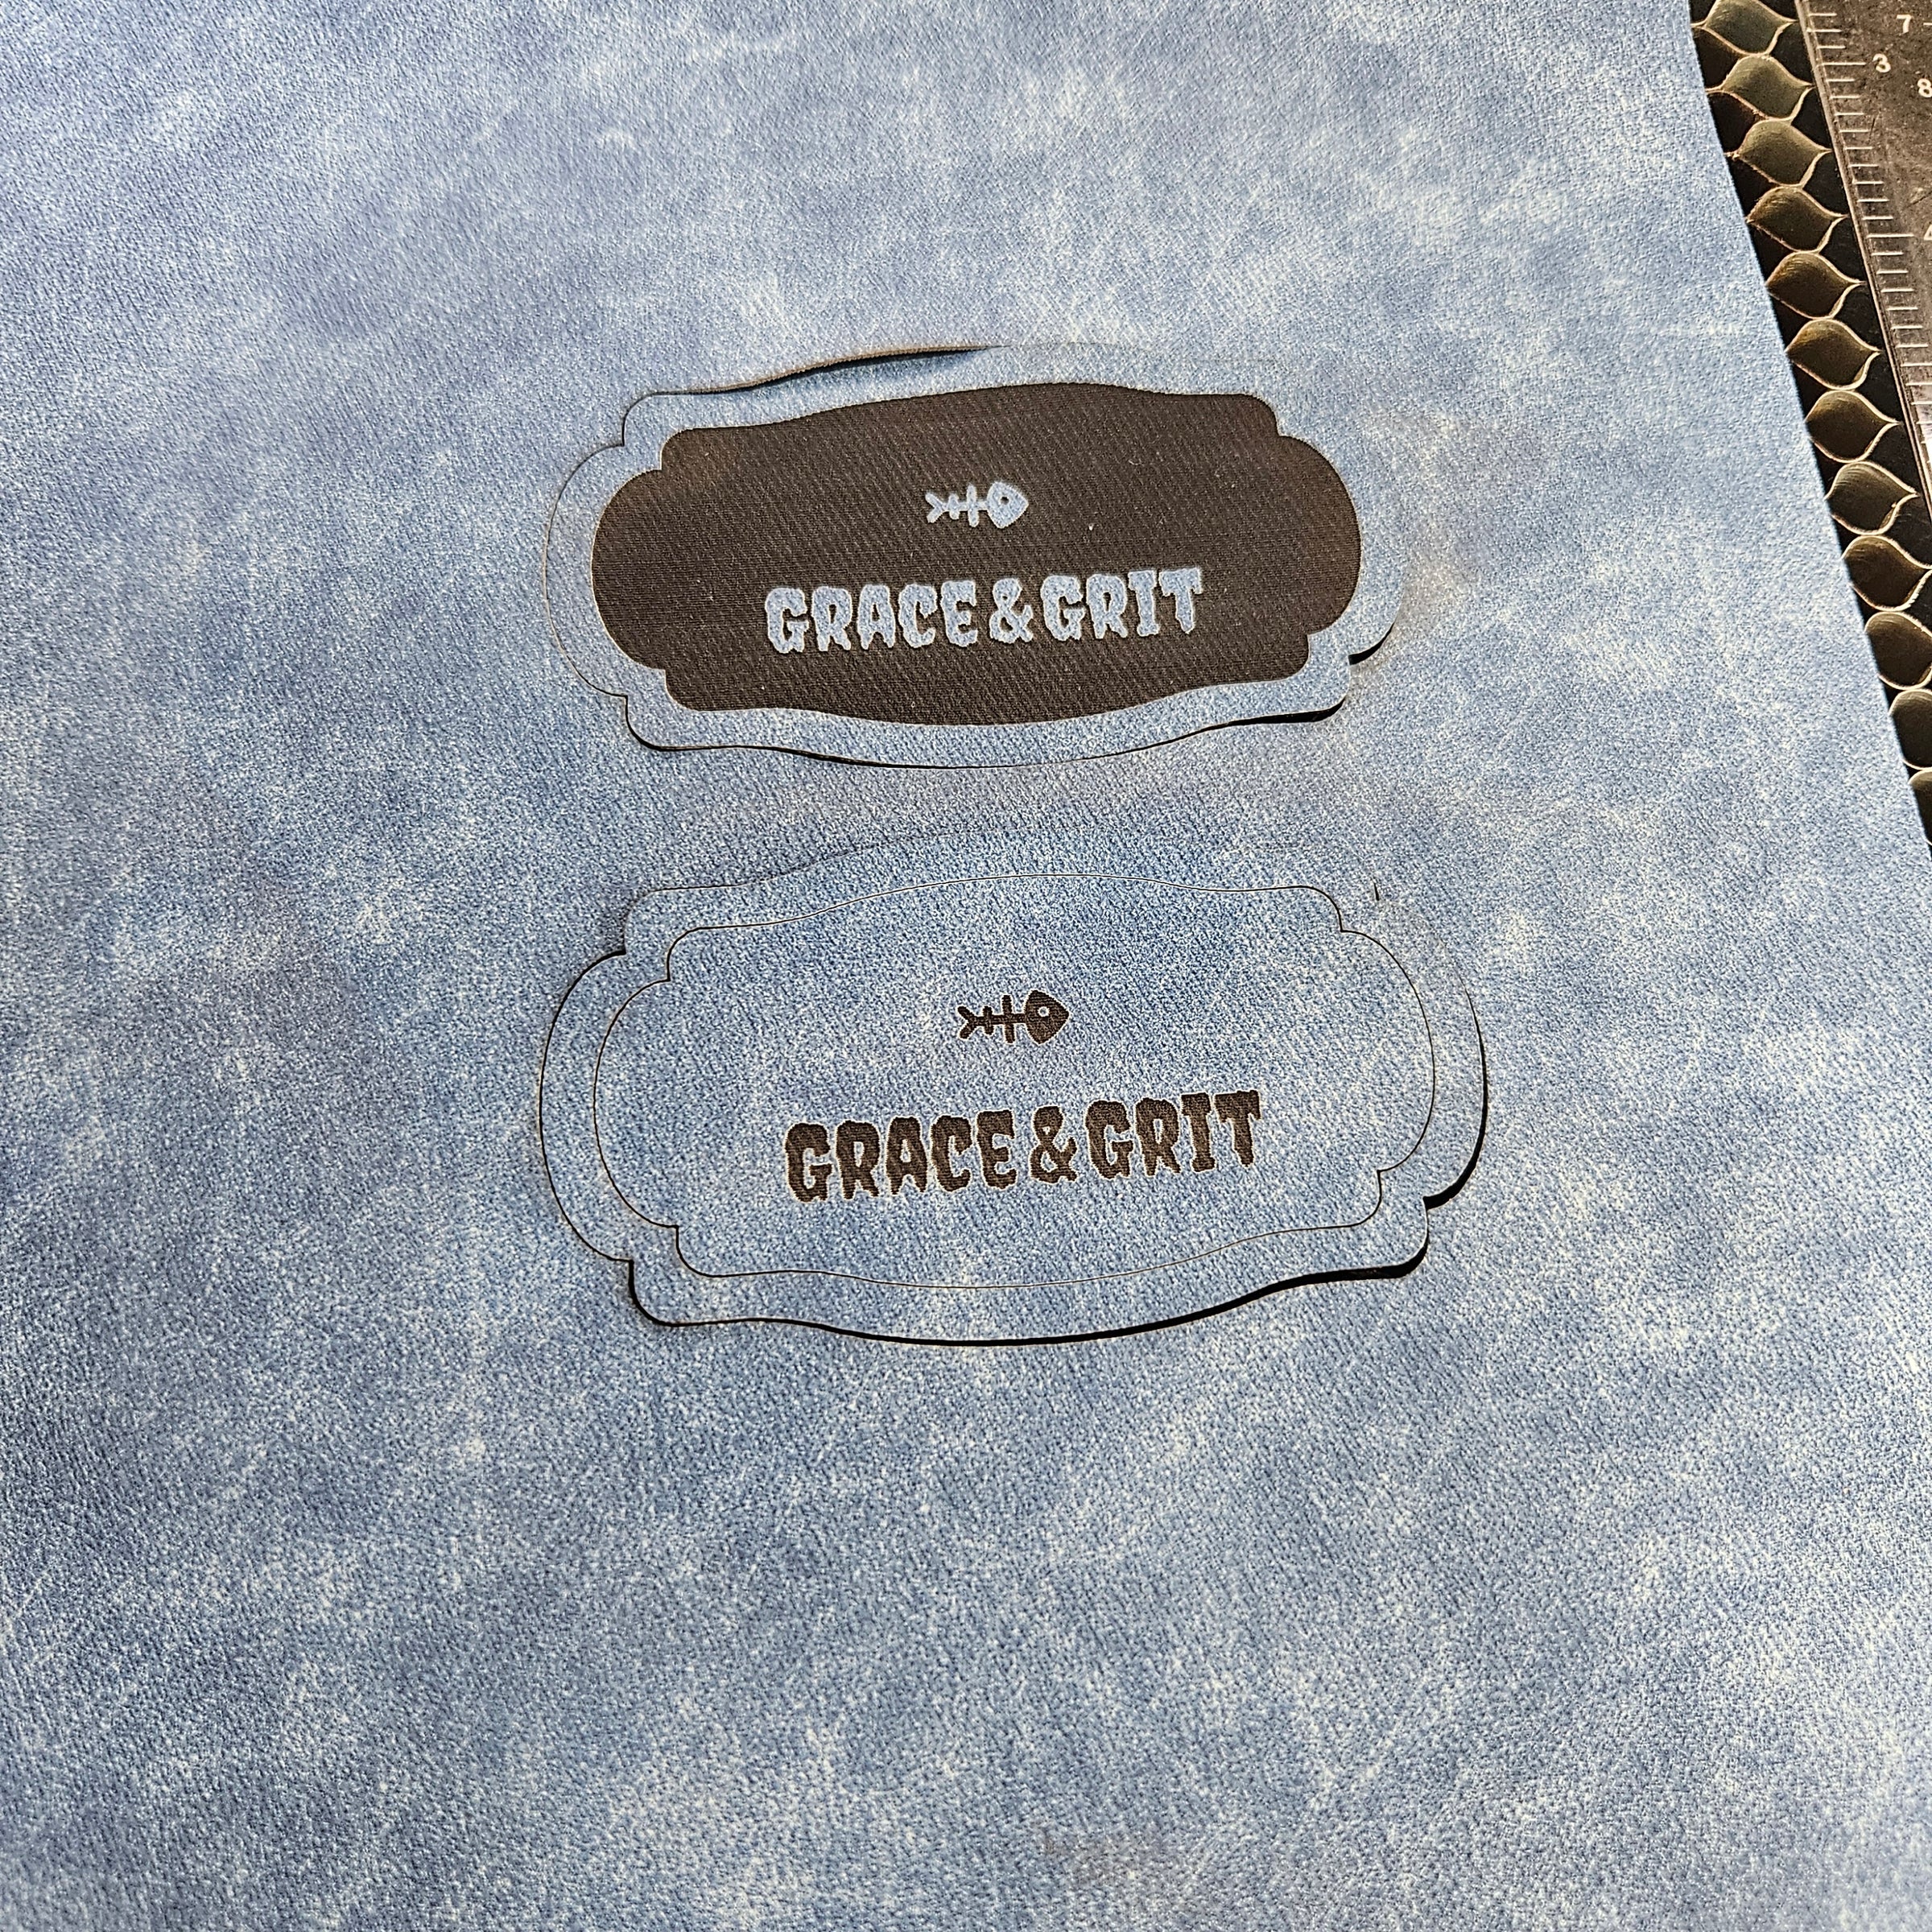
How do I get a clean cut edge on a patch?
Run leatherette face up and start with low power and a single pass, then increase only if the cut does not release. Too much power scorches the cut edge and leaves a dark line. A light air assist keeps smoke off the surface. For full-colour patches, cut after pressing so the printed design lines up inside the border, and add a small bleed so no bare edge shows.
-
Iron-on, stick-on, or sew, which should I choose?
Match the method to where the patch lives. TPU melt adhesive or a heat press gives a permanent iron-on bond for fabric items like jackets, hats, and tote bags. 3M tape is best for hard surfaces and bags where you cannot apply heat. Sewing or a rivet is the most durable option for items that take heavy wear or frequent washing.
-
Will iron-on patches survive washing?
A properly heat-pressed TPU melt bond holds up to regular washing. Press at the recommended temperature and dwell time so the adhesive fully activates, and let the item cure before the first wash. To extend the life of a patch, wash inside out on a cold, gentle cycle and avoid the tumble dryer. For items washed very often, add stitching around the edge as a backup.
-
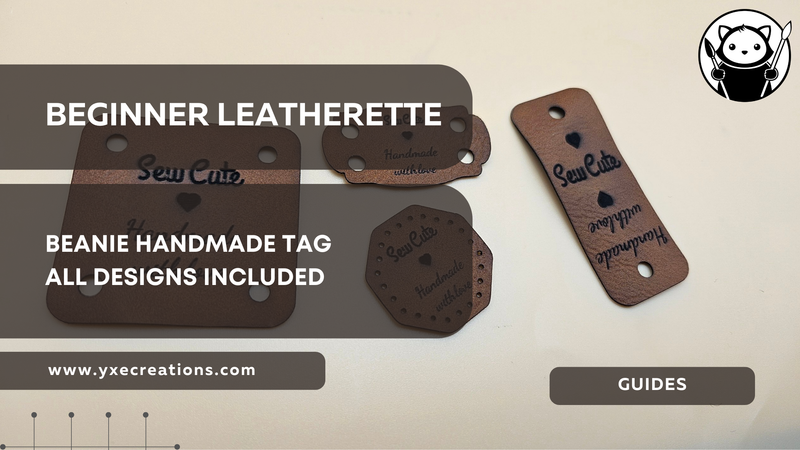
How do I make backpack tags?
A backpack tag is a patch with a loop. Cut the tag shape with a slot or hole at the top, then thread it onto a swivel snap hook, a split ring, or a short leatherette loop set with a rivet so it clips to a zip or strap. Personalised name tags are the strongest seller here, especially for kids' bags and luggage, so offer a name or monogram option.
-
How do I price handmade patches and tags?
A solid starting formula: (material cost + backing or hardware cost) multiplied by 3 for craft markets, or by 5 to 6 for retail and online. A leatherette patch costs roughly $0.30 to $0.80 in material, plus adhesive or a clip. Simple patches commonly sell for $4 to $10, and personalised backpack tags for $8 to $18. Full-colour sublimation and custom logo runs support the higher end.