

Ornaments they keep for years
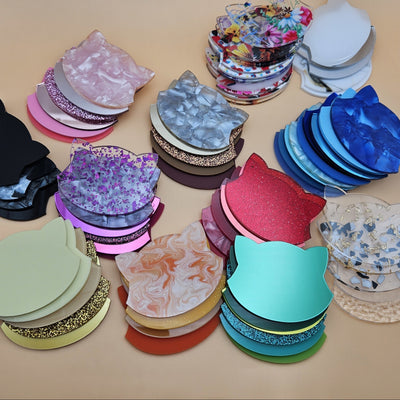
Mirror and glitter acrylic, laser-grade plywood, and layered designs for Christmas, Easter, and personalized keepsakes, plus free ornament generators for every style, from snowmen to keepsakes.
Choosing your ornament material
MAKE IT UNIQUE
DISCOVER YOUR NEXT PROJECT




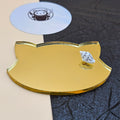
Free Christmas ornament generators


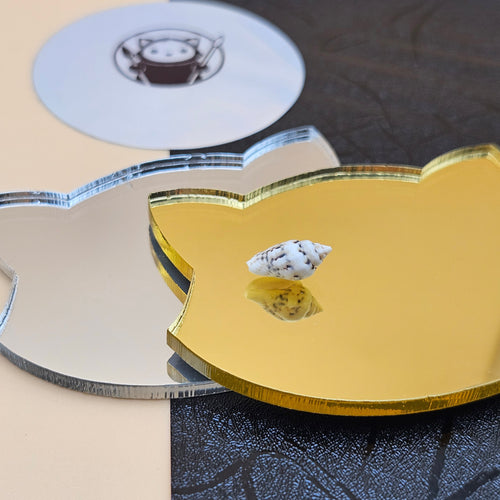
Mirror Acrylic Sheet - Gold
Mirror Acrylic Sheet - Silver
Mirror Acrylic Sheet - Rose - 2.6 mm
Mirror Acrylic Sheet - Light Green - 2.6 mm
Mirror Acrylic Sheet - Red - 2.6 mm
Mirror Acrylic Sheet - Light Blue - 2.6 mm
Mirror Acrylic Sheet - Pink - 2.6 mm
Mirror Acrylic Sheet - Purple - 2.6 mm
Mirror Acrylic Sheet - 2-Way Mirror - See Through - 2.6 mm
Mirror Acrylic Sheet - Black - 2.6 mm
Mirror Acrylic Sheet - Blue - 2.6 mm
Mirror Acrylic Bundle

Acrylic Swatch Sets

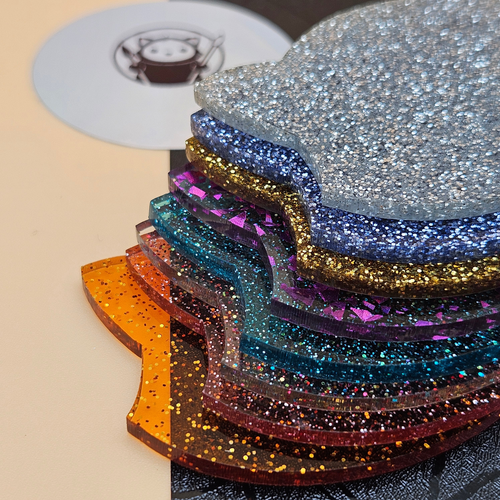
Glitter Acrylic Sheet - Gold

Glitter Acrylic Sheet - Red

Glitter Acrylic Sheet - Pink

Glitter Acrylic Sheet - Iridescent Black

Glitter Acrylic Sheet - Opaque Gold

Glitter Acrylic Sheet - Silver

Clear Acrylic Sheet - Gold Foil Flakes

Glitter Acrylic Sheet - Black

Glitter Acrylic Sheet - Iridescent Teal

Glitter Acrylic Sheet - Purple

Glitter Acrylic - Orange Sparkle

Glitter Acrylic - Blue Sparkle

Glitter Acrylic Sheet - Iridescent Gold

Glitter Acrylic - Purple Sparkle


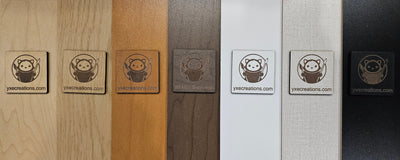
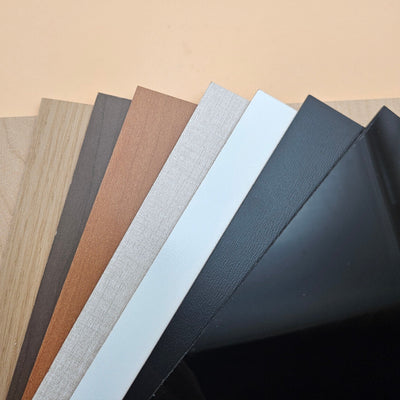
TruFlat® Maple Plywood
TruFlat® Walnut Plywood
TruFlat® White Plywood 2.0
TruFlat® Oak Plywood

TruFlat® Black Plywood
TruFlat® Cherry Plywood
TruFlat® Linen Plywood
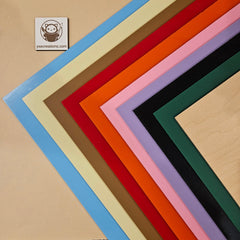
TruFlat® Paint Plywood
TruFlat® Maple - Natural Series Plywood
TruFlat® Walnut - Natural Series Plywood
TruFlat® Cherry - Natural Series Plywood

Glow in the Dark Acrylic Sheet - Green

Glow in the Dark Acrylic Sheet - Blue

Glow in the Dark Acrylic Sheet - Pink

Glow in the Dark Acrylic Sheet - Off-white

Glow in the Dark Acrylic Sheet - Orange


Acrylic Swatch Sets
Designer Acrylic Sheet - Liquid Pearl - Silver Pearl
Designer Acrylic Sheet - Liquid Pearl - Blue Lagoon
Metallic Shine Acrylic - Metallic Gold
Metallic Shine Acrylic - Metallic Dark Steel
Designer Acrylic Sheet - Light Wood
Designer Acrylic - Black Smoke
Metallic Shine Acrylic - Metallic Blue Sky
Designer Acrylic - Crystal Pearl Acrylic - Blue
Designer Acrylic Sheet - Liquid Pearl - Forest Silk
Designer Acrylic Sheet - Dark Wood
Metallic Shine Acrylic - Metallic White Aluminum
Metallic Shine Acrylic - Metallic Bronze

Designer Acrylic - Blue Radiance
Metallic Shine Acrylic - Metallic Green Jade
Laser Cut Ornament FAQ
-
What do I need to start making laser cut ornaments?
You need a laser cutter, ornament-friendly material, and a cut file. A 40W+ CO2 laser cuts 3mm acrylic cleanly, while a 10W+ diode laser handles thin wood and engraving. The favourites are mirror acrylic, glitter acrylic, and laser-grade plywood. For the design, the free Christmas and egg ornament generators output ready-to-cut shapes with the hanging hole already placed, so you can be cutting in minutes.
-
What material works best for ornaments?
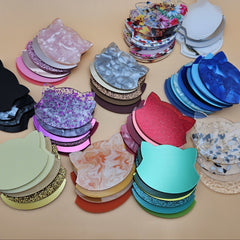
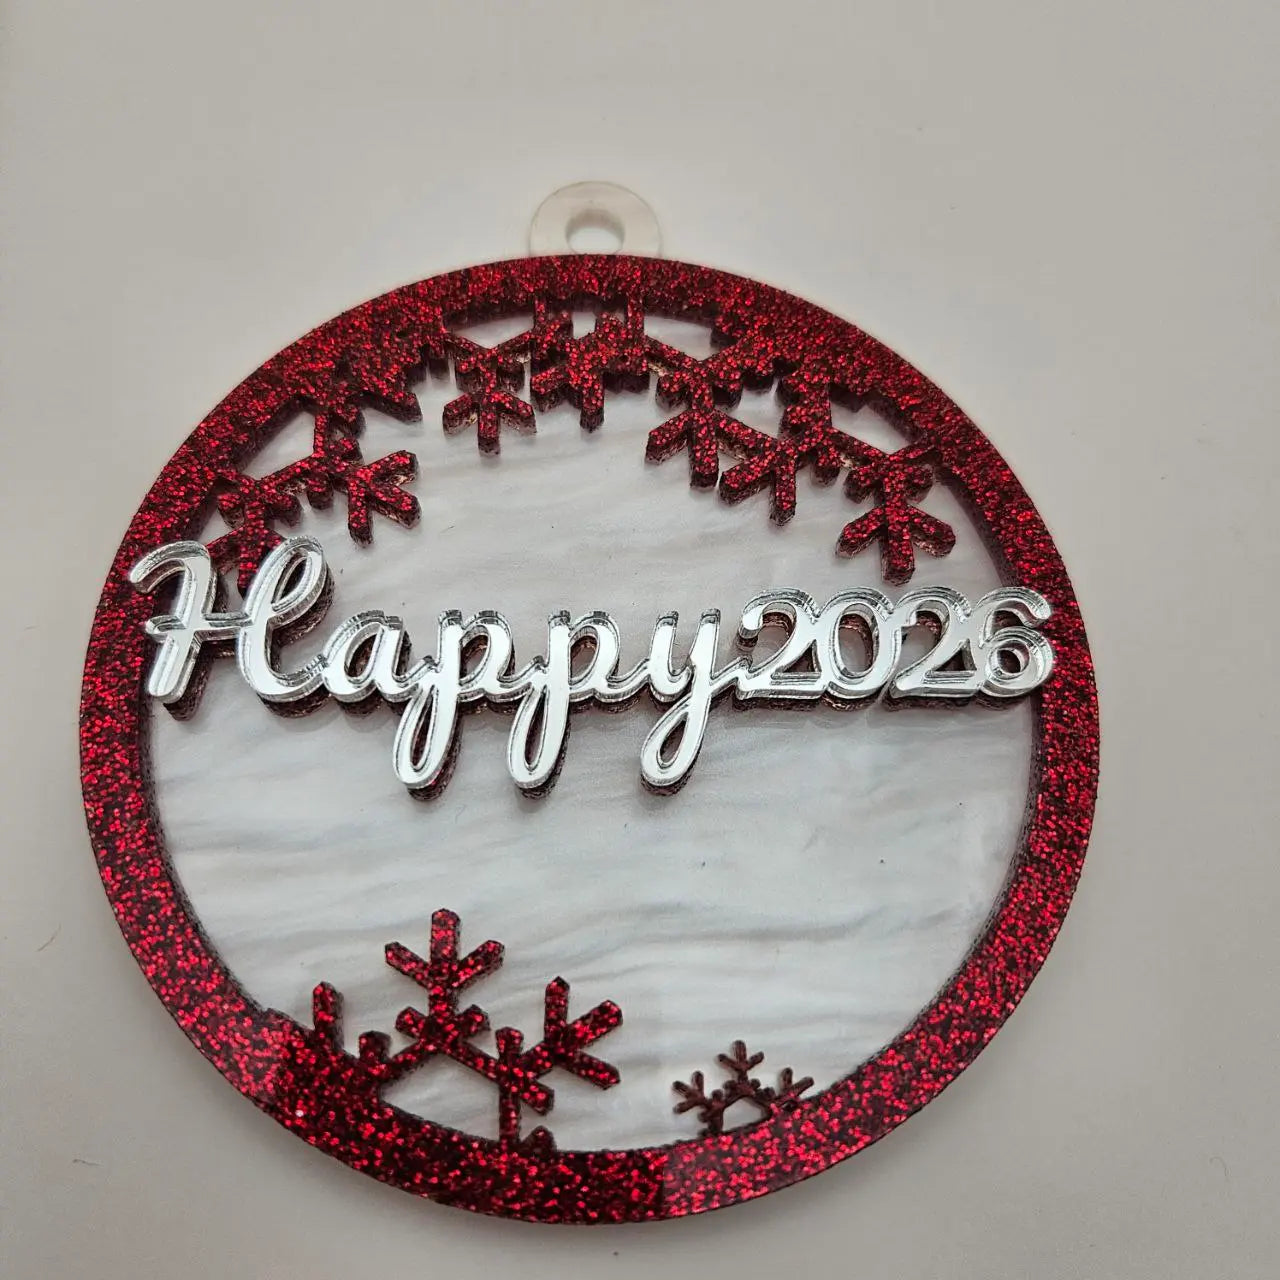
It comes down to the look. Mirror acrylic reflects tree lights for a bright, eye-catching ornament. Glitter acrylic brings festive sparkle without any extra finishing. Laser-grade plywood is the classic choice for warm, engraved keepsakes. Many crafters keep all three on hand so they can offer a modern range alongside traditional engraved designs.
-
What thickness should ornaments be?
3mm is the sweet spot for ornaments. It holds fine engraved detail, stays rigid so the shape will not warp on the tree, and is sturdy enough to survive a season packed away in storage and pulled out again next year. Thinner stock can feel flimsy and chip at narrow points, while thicker stock adds weight and material cost without much benefit. Mirror, glitter, cast acrylic, and plywood are all readily available at 3mm.
-
What size should the hanging hole be, and what do I hang it with?
A 3 to 4mm hole works for most ornaments, placed 4 to 5mm down from the top edge so there is enough material around it to stay strong. Thread it with ribbon, baker's twine, or a metal ornament hook. The free ornament generators place the hole for you automatically, so the spacing is correct every time. For heavier layered pieces, nudge the hole a little lower so it hangs level.
-
How do I make layered ornaments with depth?
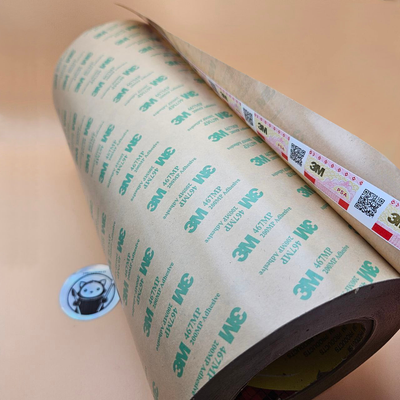
Cut each layer separately and stack them, bonding the layers with 3M double-sided tape for a clean, glue-free join. Pair a mirror or glitter base layer with an engraved or contrasting top layer for dimension. For press-fit inlays, subtract roughly 0.1 to 0.15mm per side to account for the laser kerf so the pieces seat snugly without forcing. A quick test fit on scrap saves wasted material.
-
How do I make shaker (snow-globe) ornaments?
Shaker ornaments are one of the strongest 2026 trends. Cut three layers: a clear cast acrylic front, a middle frame with the window and shapes removed to hold the fill, and a solid back. Add a little loose glitter, sequins, or faux snow in the cavity, then bond the stack with 3M tape for a clean, sealed snow-globe effect. Keep the middle frame at least 3mm thick so there is room for the fill to move.
-
Can I make full-colour sublimation ornaments?
Yes. Sublimation-ready acrylic and sublimation hardboard accept photographic full-colour prints from a heat press at 375 to 400 degrees F for 60 to 90 seconds. Press the sheet first, then cut the ornament shapes, so a single press yields several finished blanks. This is ideal for photo ornaments and full-colour holiday designs. Standard cast acrylic will not take sublimation, so use sheets rated for it.
-
How do I personalize ornaments?
Personalization is what makes ornaments giftable and what drives the highest prices. Engrave names, dates, and messages like "Baby's First Christmas" directly into the surface. On two-tone acrylic the engrave reveals a contrasting core colour for instant pop, and on plywood it burns a warm, classic mark. The Christmas ornament generator makes it easy to drop names and dates onto a ready-to-cut shape.
-
Are ornaments really the top seasonal seller?
Yes. Christmas ornaments are the highest-revenue seasonal laser product, outselling almost every other holiday item. Demand is concentrated in the run-up to the holidays, so start cutting in early autumn to build stock before the rush and avoid being caught short in December. Mirror and glitter acrylic ornaments and personalized engraved keepsakes are the strongest performers.
-
Can I make Easter and egg ornaments year-round?
Absolutely. The free egg ornament generator produces decorative egg shapes in minutes for Easter, spring decor, and hanging displays. Pastel and designer acrylics suit the season, and the same egg shapes work as keepsakes and gift tags well beyond Easter. Adding a spring line alongside your Christmas range helps smooth out demand across the calendar instead of relying on one peak.